本篇为本系列综合项目一,配置一个博客网站,并设置负载集群;本次需要使用四台服务器,一台数据库,三台Web服务器。
安装MariaDB数据库
#配置源
  nano /etc/yum.repo.d/mariadb.repo

  #-----粘贴下部分--------------------------------
    [mariadb]
    name = MariaDB
    baseurl = https://mirrors.ustc.edu.cn/mariadb/yum/10.2/centos7-amd64
    gpgkey=https://mirrors.ustc.edu.cn/mariadb/yum/RPM-GPG-KEY-MariaDB
    gpgcheck=1
  #-----------------------------------------------
  #清除当前缓存并重新生成
  yum clean all
  yum makcahe
  #安装MariaDB数据库软件
  yum -y install MariaDB-server MariaDB-client
  #启动mariadb以及设置开机自启
  systemctl start mariadb && systemctl enable mariadb

  #--------------------分割-------------------------

  #初始化MariaDB服务
  sudo mysql_secure_installation
  #初始化的选项
  Enter current password for root (enter for none):<– 回车
  Set root password? [Y/n] <– 设置root密码y
  New password: <– 设置root用户的密码(密码设置成[email protected])
  Re-enter new password: <– 再输入一次你设置的密码
  Remove anonymous users? [Y/n] <– 删除匿名用户y
  Disallow root login remotely? [Y/n] <–禁止远程root用户n
  Remove test database and access to it? [Y/n] <– 删除Test数据库y
  Reload privilege tables now? [Y/n] <– 重新加载权限表y

  #----------------------初始化完毕------------------

  #使用root用户登录数据库
  mysql -u root -p -h localhost -P 3306
  #密码是[email protected],刚才设置的
  #设置typecho用户并配置本地登录,设置用户密码为typecho
  mysql> GRANT ALL PRIVILEGES ON *.* TO 'typecho'@localhost IDENTIFIED BY 'typecho' WITH GRANT OPTION;
  mysql > flush PRIVILEGES;
  #创建数据库(下面这一行需要输入分号)
  mysql> create database typecho_db;
  #查看数据库是不是创建了
  MariaDB [(none)]> SHOW DATABASES;
  +--------------------+
  | Database           |
  +--------------------+
  | information_schema |
  | mysql              |
  | performance_schema |
  | typecho_db         |
  +--------------------+
  4 rows in set (0.00 sec)

  MariaDB [(none)]> use mysql;
  #配置用户远程的登录
  MariaDB [mysql]> update user set `host` = '%' where `user` = 'typecho' limit 1;
  #强制刷新
  MariaDB [mysql]> flush privileges;
安装PHP7.3并配置php.ini,以及Typecho需要的插件同步安装,这里推荐使用MobaXterm的多执行方式同步安装
#安装运行环境
  yum -y install gcc gcc-c++
  #安装第三方软件源
  yum -y install epel-release
  #安装软件包
  yum -y install https://dl.fedoraproject.org/pub/epel/epel-release-latest-7.noarch.rpm
  yum -y install http://rpms.remirepo.net/enterprise/remi-release-7.rpm
  #安装包管理器组件
  yum -y install yum-utils
  #启用php7.3源
  yum-config-manager --enable remi-php73
  #安装PHP7需要的组件
  yum -y install php php-mcrypt php-devel php-cli php-gd php-pear php-curl php-fpm php-mysql php-ldap php-zip php-fileinfo
  #安装扩展插件
  #安装mbstring
  yum -y install php-mbstring
  #在php.ini设置mbstring弃用
  nano /etc/php.ini
  #在文件内加入这一行
  extension=mbstring.so
  #安装完了查看版本

  #启动php-fpm,开机自启动
  systemctl start php-fpm
  systemctl enable php-fpm
使用多执行的方式安装Nginx,并配置参数
配置前先下载Typecho文件
    yum -y install wget unzip
    cd /
    mkdir -p /www/blog.nginx.test/
    cd /www/blog.nginx.test/
    wget https://github.com/typecho/typecho/releases/latest/download/typecho.zip
    unzip typecho.zip
    cd /
    chmod 777 /www/blog.nginx.test/
    chmod 777 /www/blog.nginx.test/usr/uploads
签发SSL证书,使用WinSCP上传到主Nginx上
上传到文件位置/cert/下
重命名为local.crt以及local.key保存在/cert/文件目录下,等会配置文件要引用
    #这里可以用编译的Nginx,也可以用yum安装的Nginx
    yum -y install epel-release
    yum -y install nginx
    #每台Nginx服务器的配置文件都不一样,需要多次确认
    #----------------Nginx-2配置文件----------------------------
    server {
        listen 80;
        server_name 10.0.0.90;
        root /www/blog.nginx.test/;
        index index.html index.htm index.php;

        location ~ ^/.+\.php {
            fastcgi_index index.php;
            fastcgi_split_path_info ^(.+\.php)(/.*)$;
            fastcgi_param SCRIPT_FILENAME $request_filename;
            fastcgi_param PATH_INFO $fastcgi_path_info;
            fastcgi_param PATH_TRANSLATED $document_root$fastcgi_path_info;
            include fastcgi_params;
            fastcgi_pass 127.0.0.1:9000;
        }
    }
    #-----------------分割--------------------------------------
    #----------------Nginx-3配置文件----------------------------
    server {
        listen 80;
        server_name 10.0.0.91;
        root /www/blog.nginx.test/;
        index index.html index.htm index.php;

        location ~ ^/.+\.php {
            fastcgi_index index.php;
            fastcgi_split_path_info ^(.+\.php)(/.*)$;
            fastcgi_param SCRIPT_FILENAME $request_filename;
            fastcgi_param PATH_INFO $fastcgi_path_info;
            fastcgi_param PATH_TRANSLATED $document_root$fastcgi_path_info;
            include fastcgi_params;
            fastcgi_pass 127.0.0.1:9000;
        }
    }
    #------------------分割------------------------------------
    #----------------------Nginx-1主配置文件以及负载集群文件---
    #下面的文件是配置文件,不需要上传SSL证书
    server {
        listen                     80;
        server_name                10.0.0.89;
        root         /www/blog.nginx.test;
        index        index.html index.htm index.php;

        location ~ ^/.+\.php {
            fastcgi_index            index.php;
            fastcgi_split_path_info  ^(.+\.php)(/.*)$;
            fastcgi_param            SCRIPT_FILENAME $request_filename;
            fastcgi_param            PATH_INFO $fastcgi_path_info;
            fastcgi_param            PATH_TRANSLATED $document_root$fastcgi_path_info;
            include                  fastcgi_params;
            fastcgi_pass             127.0.0.1:9000;
        }
    }

    #--------------------配置负载集群文件---------------------------
    upstream blog_local {
        #一定要ip_hash的方式负载,不然会出现掉登录的情况
        ip_hash;
        server 10.0.0.89:80;
        server 10.0.0.90:80;
        server 10.0.0.91:80;
    }

    server {
        listen 80;
        listen 443 ssl;
        server_name blog.nginx.test;
        #配置SSL文件和SSL密钥串
        ssl_certificate            /cert/local.crt;
        ssl_certificate_key        /cert/local.key;
        ssl_ciphers                ECDHE-RSA-AES256-GCM-SHA384:ECDHE-RSA-AES128-GCM-SHA256:DHE-RSA-AES256-GCM-SHA384:DHE-RSA-AES128-GCM-SHA256:ECDHE-RSA-AES256-SHA384:ECDHE-RSA-AES128-SHA256:ECDHE-RSA-AES256-SHA:ECDHE-RSA-AES128-SHA:DHE-RSA-AES256-SHA256:DHE-RSA-AES128-SHA256:DHE-RSA-AES256-SHA:DHE-RSA-AES128-SHA:ECDHE-RSA-DES-CBC3-SHA:EDH-RSA-DES-CBC3-SHA:AES256-GCM-SHA384:AES128-GCM-SHA256:AES256-SHA256:AES128-SHA256:AES256-SHA:AES128-SHA:DES-CBC3-SHA:HIGH:!aNULL:!eNULL:!EXPORT:!CAMELLIA:!DES:!MD5:!PSK:!RC4;
        ssl_prefer_server_ciphers  on;
        ssl_protocols              TLSv1 TLSv1.1 TLSv1.2;
        ssl_session_cache          shared:SSL:5m;
        ssl_session_timeout        5m;
        #设置强制HTTPS
        if ($scheme = http) {
            return  301 https://$host$request_uri;
        }

        if (!-e $request_filename) {
        rewrite ^(.*)$ /index.php$1 last;
        }
        #引用当前的组,后面需要用到
        location /{
              proxy_pass http://blog_local;
        }
        #不加这个加载网页会不正常
        location ~ .* {
                proxy_pass http://xd-project;
                proxy_set_header Host $http_host;
                proxy_set_header X-Real-IP $remote_addr;
                proxy_set_header X-Forwarded-For $proxy_add_x_forwarded_for;
        }
    }
配置完Nginx之后配置Windows的hosts文件
这里推荐用dism++直接修改hosts文件
需要修改的HOSTS文件
NGINXTEC HOSTS CHANGE
10.0.0.89 blog.nginx.test
本次实验使用服务器IP列表
MariaDB数据库服务器IP:10.0.0.92
Nginx主控服务器:10.0.0.89
Nginx从服务器1:10.0.0.90
Nginx从服务器2:10.0.0.91
重启Nginx服务器,并在Windows的浏览器上浏览刚才搭建好的网站
安装的时候需要注意一点,安装选择数据库的参数文件是这样的
数据库IP地址:10.0.0.92,数据库用户名:typecho,数据库密码:typecho,数据库名:typecho_db
下一步,网站链接使用https://blog.nginx.test
不使用本链接会造成网页无法正常加载(这个决定服务器的文件外部文件引用,如果有错无法正确加载css和js文件,望悉知)
另外两个从站可以从主站直接复制过去也可以另外安装,另外安装的网站在输入数据库信息之后提示数据存在选择保留原有数据继续安装。
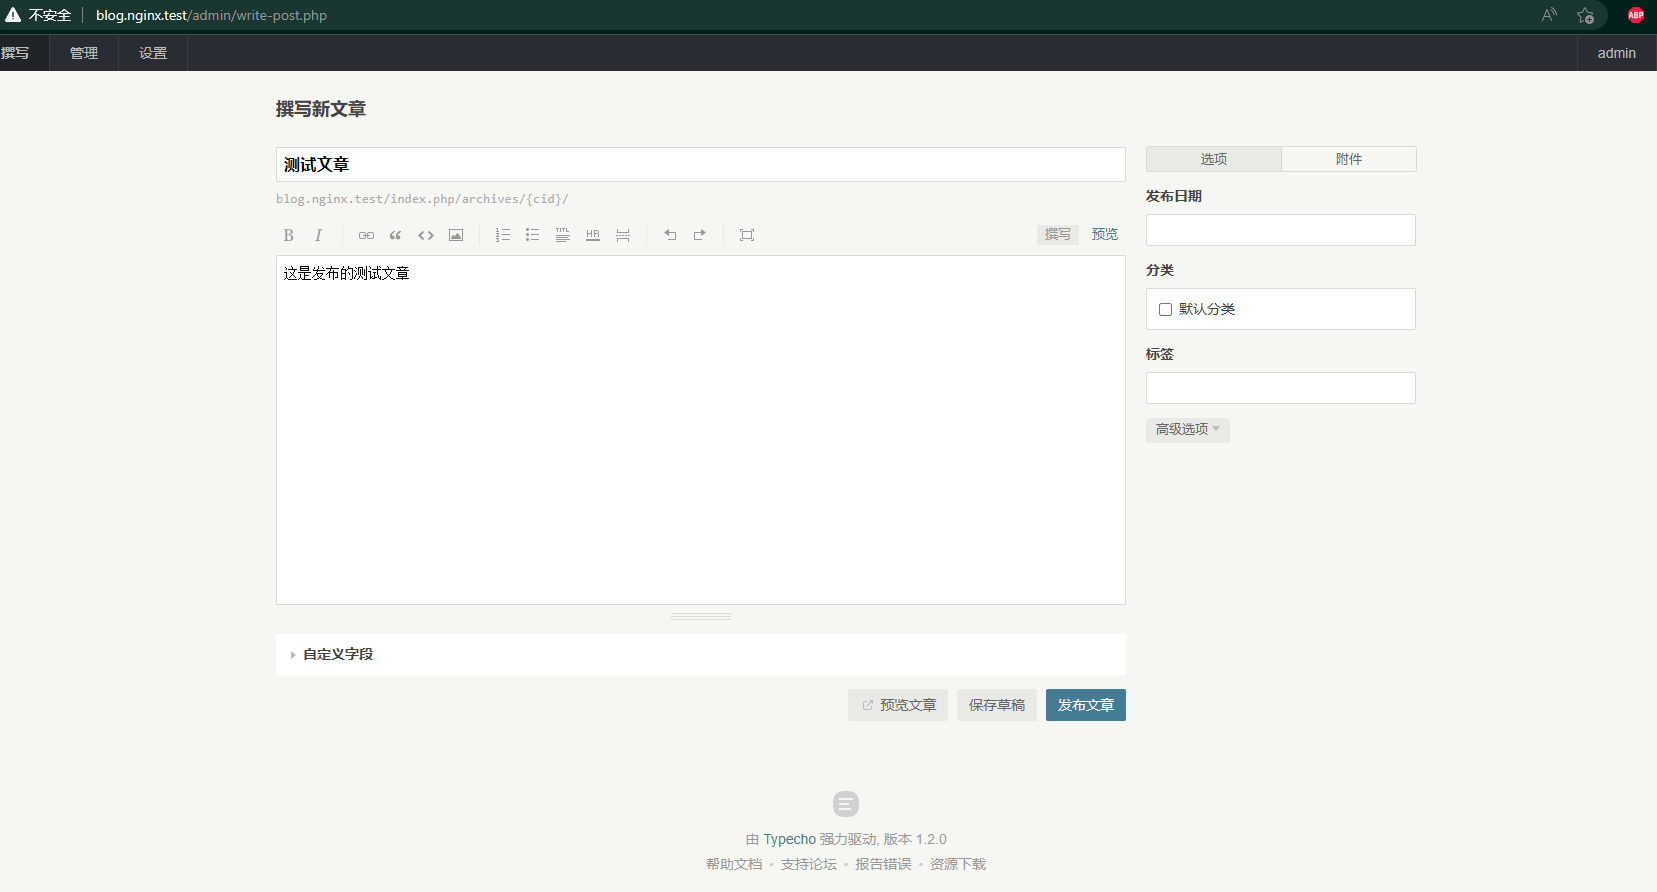
安装好后打开网站新建文章查看文章是否正常。

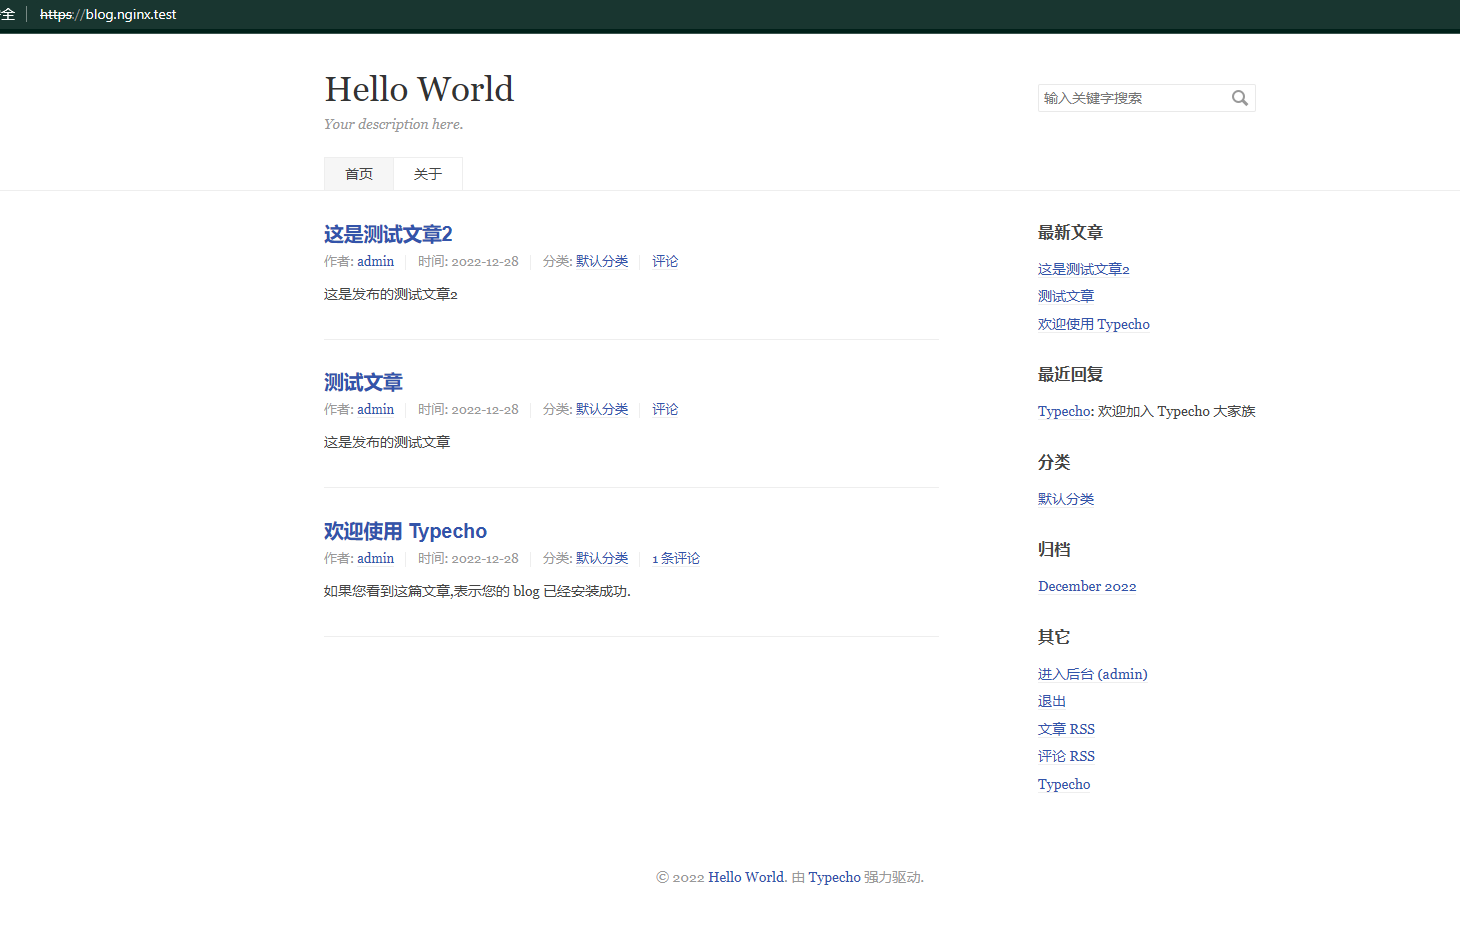
查看发布的文章是否正常

本次项目化实训一结束


评论