WebDav是用超文本传输协议的方法在服务器上划出一个存储块,用户可以使用用户名和密码访问存储在WebDav上的文件;
WebDav可以直接挂载到本地当本地磁盘使用,目前的苹果iCloud,谷歌Google 云盘以及微软的OneDrive都是以WebDav的形式挂载到客户端的
Nginx配置WebDav
由于之前安装的Nginx并不包含第三方插件的WebDav,所以这里需要自己编译安装WebDav插件,(无缝切换Nginx版本)
  #查看做实验虚拟机的参数配置文件
  nginx -V
  #复制看到的参数配置文件,如下(如果是用yum安装的和下面肯定一致)
  ./configure --prefix=/etc/nginx --sbin-path=/usr/sbin/nginx --modules-path=/usr/lib64/nginx/modules --conf-path=/etc/nginx/nginx.conf --error-log-path=/var/log/nginx/error.log --http-log-path=/var/log/nginx/access.log --pid-path=/var/run/nginx.pid --lock-path=/var/run/nginx.lock --http-client-body-temp-path=/var/cache/nginx/client_temp --http-proxy-temp-path=/var/cache/nginx/proxy_temp --http-fastcgi-temp-path=/var/cache/nginx/fastcgi_temp --http-uwsgi-temp-path=/var/cache/nginx/uwsgi_temp --http-scgi-temp-path=/var/cache/nginx/scgi_temp --user=nginx --group=nginx --with-compat --with-file-aio --with-threads --with-http_addition_module --with-http_auth_request_module --with-http_dav_module --with-http_flv_module --with-http_gunzip_module --with-http_gzip_static_module --with-http_mp4_module --with-http_random_index_module --with-http_realip_module --with-http_secure_link_module --with-http_slice_module --with-http_ssl_module --with-http_stub_status_module --with-http_sub_module --with-http_v2_module --with-mail --with-mail_ssl_module --with-stream --with-stream_realip_module --with-stream_ssl_module --with-stream_ssl_preread_module --with-cc-opt='-O2 -g -pipe -Wall -Wp,-D_FORTIFY_SOURCE=2 -fexceptions -fstack-protector-strong --param=ssp-buffer-size=4 -grecord-gcc-switches -m64 -mtune=generic -fPIC' --with-ld-opt='-Wl,-z,relro -Wl,-z,now -pie'
  #安装编译环境
  yum -y install gcc gcc-c++ pcre pcre-devel openssl openssl-devel zlib zlib-devel gd gd-devel
#创建用户,如果直接使用做实验的机器则不需要此操作
  useradd -s /sbin/nologin nginx
#安装依赖库1 必装
  sudo yum install -y libxml2-devel.x86_64
#安装依赖库2 必装
  sudo yum install -y libxslt-devel.x86_64
#下载Nginx源码包
  wget https://nginx.org/download/nginx-1.22.1.tar.gz
  tar -xvf nginx-1.22.1.tar.gz
#下载WebDav环境包
  mkdir -p /nginx-moduls/
  #如果git不了就下载webdav插件包,复制到虚拟机再进行编译安装(插件包需要放在/nginx-moduls/nginx-webdav目录下面或者更改编译配置文件中间的–with-http_dav_module --add-module=/nginx-moduls/nginx-webdav参数,add-module是插件路径,如果目录不一样需要自己修改)
  git clone https://github.com/arut/nginx-dav-ext-module.git /nginx-moduls/nginx-webdav
#编译Nginx
  cd nginx-1.22.1/
#复制下面的参数配置文件(已经调好配置文件了,添加了这一行–with-http_dav_module --add-module=/nginx-moduls/nginx-webdav )
  ./configure --prefix=/etc/nginx --sbin-path=/usr/sbin/nginx --modules-path=/usr/lib64/nginx/modules --conf-path=/etc/nginx/nginx.conf --error-log-path=/var/log/nginx/error.log -–with-http_dav_module --add-module=/nginx-moduls/nginx-webdav --http-log-path=/var/log/nginx/access.log --pid-path=/var/run/nginx.pid --lock-path=/var/run/nginx.lock --http-client-body-temp-path=/var/cache/nginx/client_temp --http-proxy-temp-path=/var/cache/nginx/proxy_temp --http-fastcgi-temp-path=/var/cache/nginx/fastcgi_temp --http-uwsgi-temp-path=/var/cache/nginx/uwsgi_temp --http-scgi-temp-path=/var/cache/nginx/scgi_temp --user=nginx --group=nginx --with-compat --with-file-aio --with-threads --with-http_addition_module --with-http_auth_request_module --with-http_dav_module --with-http_flv_module --with-http_gunzip_module --with-http_gzip_static_module --with-http_mp4_module --with-http_random_index_module --with-http_realip_module --with-http_secure_link_module --with-http_slice_module --with-http_ssl_module --with-http_stub_status_module --with-http_sub_module --with-http_v2_module --with-mail --with-mail_ssl_module --with-stream --with-stream_realip_module --with-stream_ssl_module --with-stream_ssl_preread_module --with-cc-opt='-O2 -g -pipe -Wall -Wp,-D_FORTIFY_SOURCE=2 -fexceptions -fstack-protector-strong --param=ssp-buffer-size=4 -grecord-gcc-switches -m64 -mtune=generic -fPIC' --with-ld-opt='-Wl,-z,relro -Wl,-z,now -pie'

#可以编译了,注意,不要执行make install,如果执行了当前的Nginx服务会出现问题
  make
#停止当前Nginx服务,并备份当前Nginx的应用文件(一定要停止,不停止会报错)
  systemctl stop nginx
  mv /usr/sbin/nginx /usr/sbin/nginx.bak
#进入objs文件目录,给编译好的nginx附上可执行
  cd objs/
  chmod a+x nginx
  cp nginx /usr/sbin/
#启动服务
  systemctl start nginx
#查看是否编译了WebDav功能
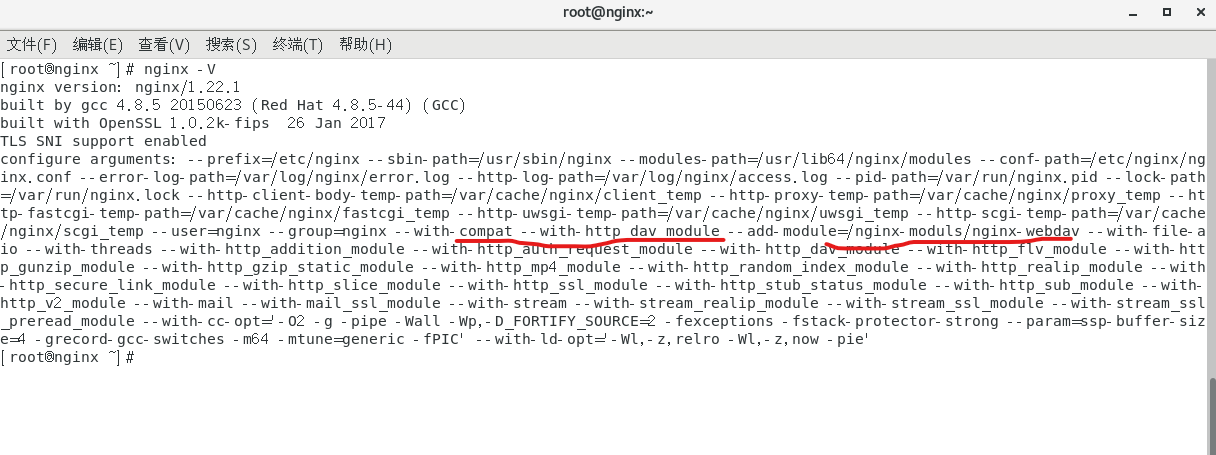
  nginx -V
接上操作,可以看见支持了WebDav
配置目录加密
  yum -y install httpd-tools
  mkdir -p /user/dav-pasword/
  htpasswd -c /user/dav-password/.auth_password user1
  Password:123456
网站配置文件(可设置HTTPS加密,这里不做示范)
  server {
        listen 80;
        #配置虚拟名称
        server_name webdav.nginx.test;
        location / {
                #配置目录如果配置了访问路径需要把root改成alias
                root /www/webdav.nginx.test;
                #配置缓存位置
                dav_methods PUT DELETE MKCOL COPY MOVE;
                #启用 WebDav 的一些扩展关键字用于支持应用访问
                dav_ext_methods PROPFIND OPTIONS;
                #设置 WebDav 目录下新增文件的默认权限
                dav_access user:rw group:rw all:r;
                #创建文件夹时自动创建路径上不存在的文件夹
                create_full_put_path  on;
                #设置报文最大长度便于文件传输,这里为8MB
                client_max_body_size 8m;
                #让 nginx 自动生成索引页面,避免 403 错误
                autoindex on;
                #---------------分割---------------
                #配置目录加密,同前面的目录加密方法一样
                #设置登录页面名称
                auth_basic "User Login";
                auth_basic_user_file /user/dav-password/.auth_password;
                }
        }
重启Nginx服务器
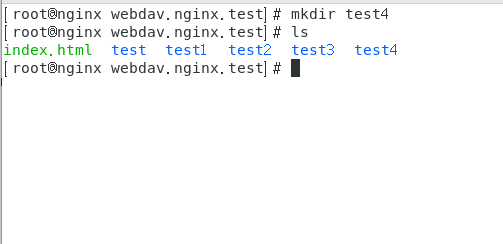
systemctl restart nginx在上图配置的目录内创建几个文件夹
  cd /www/webdav.nginx.test
  mkdir test1 test2 test3 test4
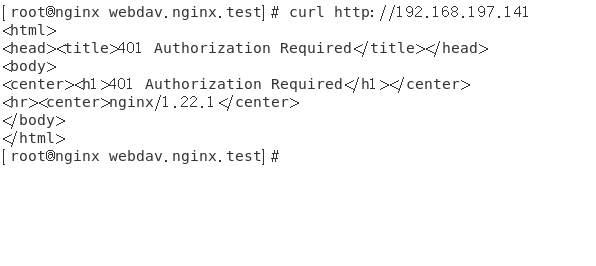
下面测试curl能不能正常获取401参数
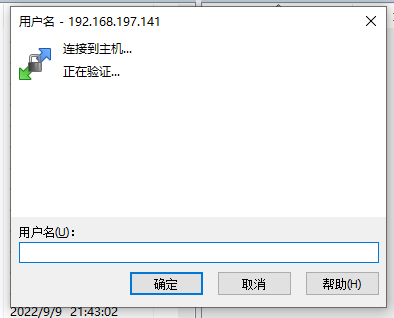
使用WinSCP工具测试是否创建了WebDav

后面会提示让你输入用户名和密码,用户名和密码为之前创建的user1 123456
输入之后进入WebDav
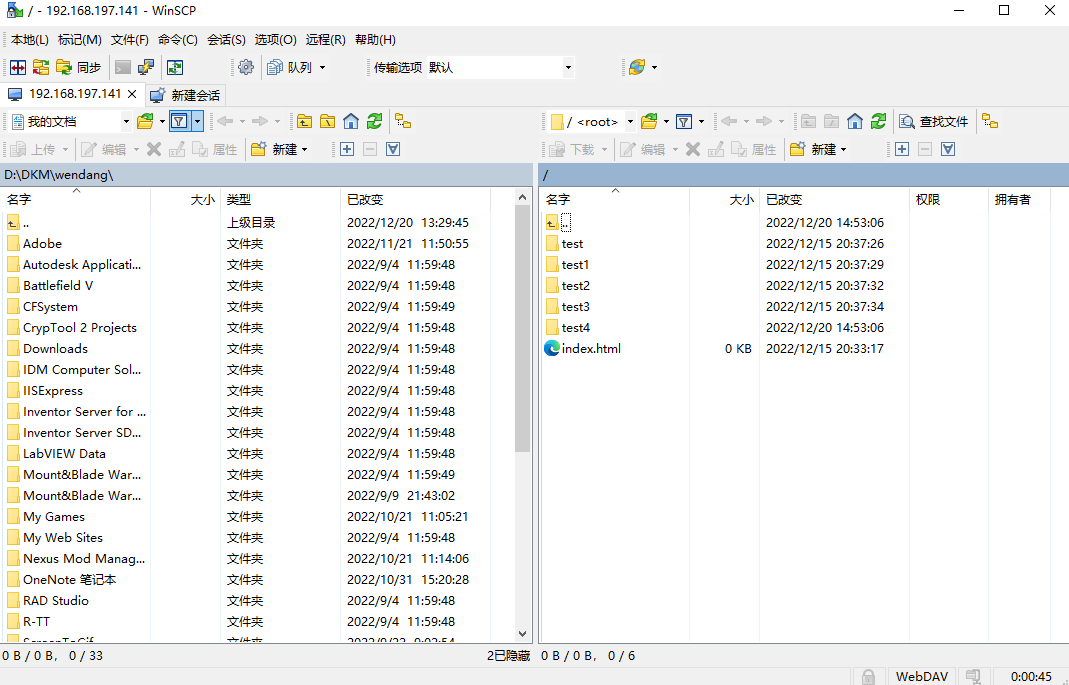
此时测试一下能不能在WebDav内复制文件,我们从桌面拖动一个文件进去
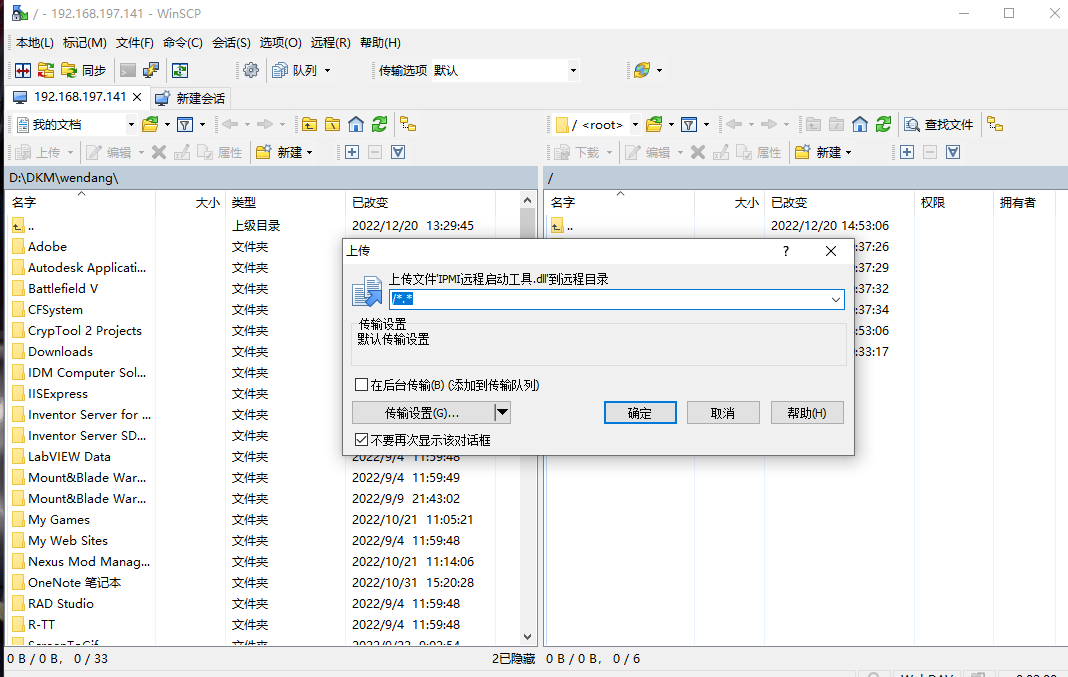
查看上传结果

到服务器上查看这个文件是不是存在的
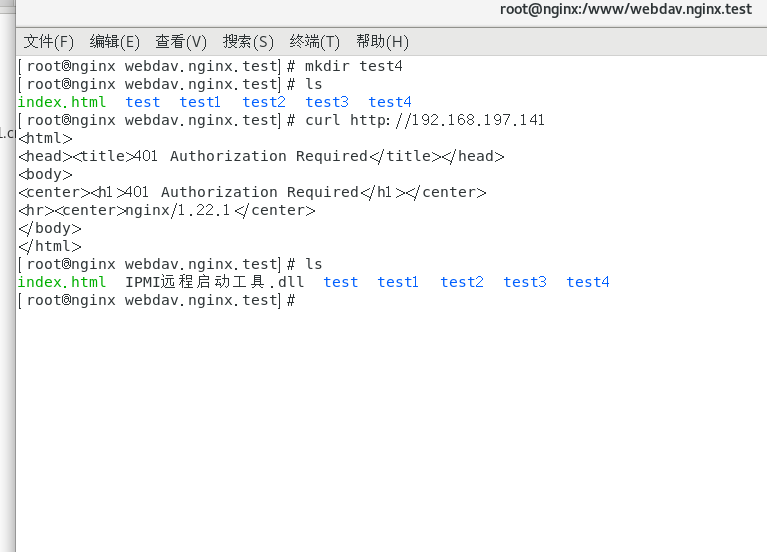
目前看到在服务器内该文件是存在的


评论